· Updated on
How I Forced Brave to Use AMD GPU on an Intel Mac
Brave Browser (Chromium) kept sticking to Intel iGPU for WebGL/WebGPU. Here’s the exact fix I used and a one-click Automator launcher to make it permanent.
This issue has been bothering me for over half a year: ever since I got hooked on using the Brave browser, I’ve noticed that on my old 2018 MacBook Pro, it only utilizes the Intel integrated graphics and fails to leverage the discrete AMD GPU for rendering intensive tasks. This forces me to occasionally switch to Safari (WebKit sucks!) when encountering heavy rendering demands to achieve a smoother browsing experience. Today, I stumbled upon news that WebGPU has officially launched in major browsers. On a whim, I decided to tackle this issue.
First, I confirmed all settings are correct:
-
Brave Settings → System → Use graphics acceleration when available: ON.
-
macOS Battery → Automatic graphics switching: OFF (forces the system to use the discrete GPU).
-
Terminal (system‑wide GPU preference):
sudo pmset -a gpuswitch 1This forces macOS to use the discrete GPU system‑wide. While this locks the display output to the AMD chip, Chromium’s internal GPU process still defaulted to creating its context on the integrated adapter.
Reset to default:
sudo pmset -a gpuswitch 2(
2restores automatic switching. The change takes effect immediately, though a reboot can ensure all background processes reload.)
Despite all that, Brave still stubbornly used Intel.
The Symptom
To reproduce the problem, I used a classic GPU-stressing WebGL demo from Three.js:
- In Safari, opening the Three.js animation example immediately flipped the machine to the discrete AMD GPU with stable 60 FPS.
- In Brave, the same page stayed on the Intel iGPU and, even under heavy rendering load, barely reached 30 FPS.
I checked the report from brave://gpu, which showed that Brave was clearly hardware-accelerating, just on the wrong adapter.
What brave://gpu Revealed
I opened brave://gpu and found something like this:
- Both GPUs were detected:
- AMD Radeon Pro Vega 20
- Intel UHD Graphics 630
- But Brave marked the Intel chip as ACTIVE, and WebGL reported:
GL_RENDERER: ANGLE Metal Renderer: Intel UHD Graphics 630
So it wasn’t a software fallback. Chromium was simply choosing the low‑power GPU and sticking to it.
The Real Fix: Force High‑Performance GPU at Launch
Since the Chromium flag to force high‑performance GPU is not available on Intel dual‑GPU macOS builds, there’s no UI toggle that persists this choice.
Chromium, however, still honors a startup argument that overrides the early GPU selection.
[!IMPORTANT] Make sure to quit Brave completely (
Cmd + Q) first. On macOS,open -awill simply bring an already-running instance to the foreground and silently ignore any new--args.
Run this in Terminal:
open -a "Brave Browser" --args --force_high_performance_gpuAfter launching Brave this way, brave://gpu finally showed the AMD GPU as ACTIVE, and the Three.js demo ran just as smoothly as it did in Safari.
Why this works
Chromium decides which GPU to bind very early during startup for its GPU process. On dual‑GPU Macs it defaults to the integrated Intel chip for battery life, and once that choice is made, most WebGL/WebGPU contexts follow it for the rest of the session. It seems this issue persists to this day (see Chromium issue #393263507).
The --force_high_performance_gpu argument injects a “prefer discrete GPU” directive before that decision locks in, so the GPU process starts on AMD, and all rendering follows.
Functionally this is the same behavior the missing force-high-performance-gpu flag would provide if it were supported on this platform, it’s just applied through a launch argument instead of Brave’s flags UI.
Make It Permanent: One‑Click Automator Launcher
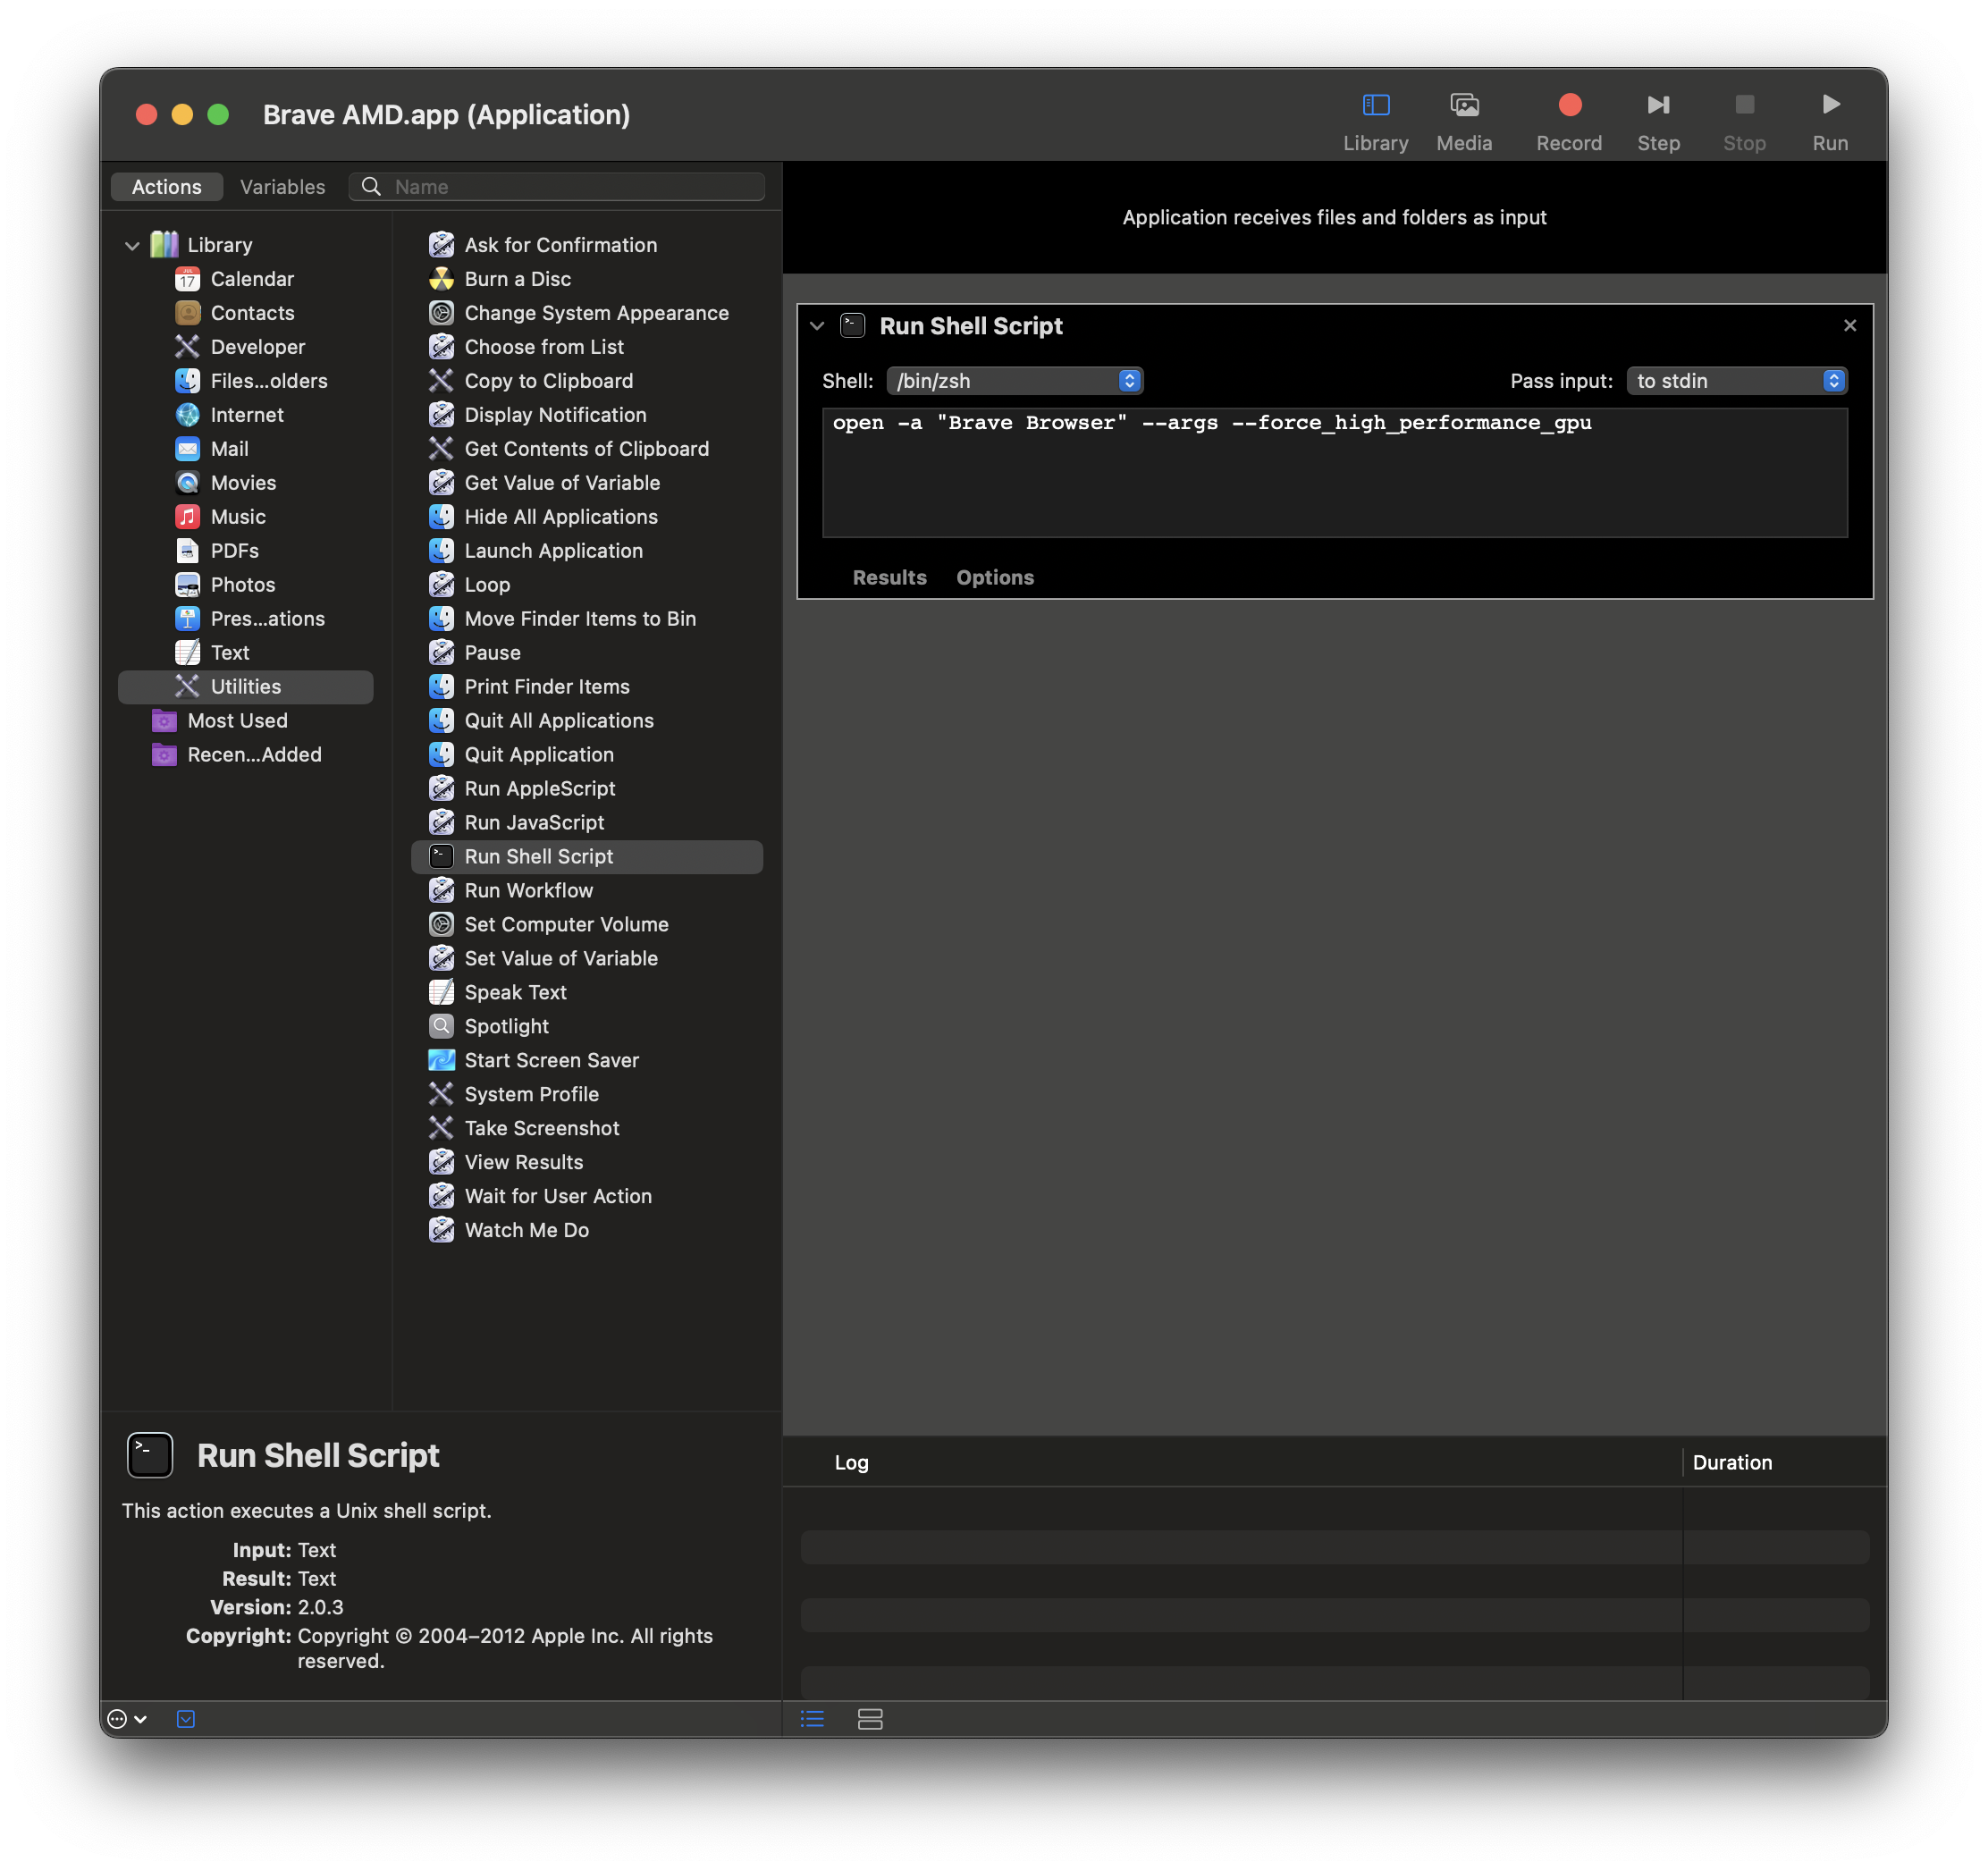
Typing the launch command every time is annoying, so I made a tiny Automator app that starts Brave in AMD mode.
- Open Automator → New Document → choose Application.
- Add Run Shell Script.
- Set shell to
/bin/zshand paste:open -a "Brave Browser" --args --force_high_performance_gpu - Save as something like Brave AMD.app.
- Drag Brave AMD.app into the Dock and remove the original Brave icon.
[!NOTE] Remember to quit Brave (
Cmd + Q) before clicking the launcher if you are switching modes; macOS won’t apply launch arguments to an existing running process.
Here’s what the Automator setup looks like:
Now every time I click the Dock icon, Brave launches using the AMD GPU.
Bonus: Make the Launcher Look Like Brave
Because the launcher is a separate app, it has a generic Automator icon by default. I changed it to the Brave icon:
- Finder → Applications → right‑click Brave Browser.app → Get Info.
- Click the small Brave icon top‑left to highlight it.
- Press Cmd‑C.
- Right‑click Brave AMD.app → Get Info.
- Click its small icon top‑left and press Cmd‑V.
If the Dock doesn’t update immediately, remove/re‑add the launcher.
Tradeoffs
Forcing the discrete GPU means:
- More battery drain.
- More heat/fan usage.
For me that’s a fair trade whenever I’m doing heavy WebGL/WebGPU stuff (3D demos, map visualizations, creative coding, etc.). Daily browsing on battery? I can still quit and open the normal Brave app if I want Intel. Not to mention, the battery on my MacBook Pro hasn’t been able to last through a single hour of normal use for ages, I couldn’t care less about battery life.